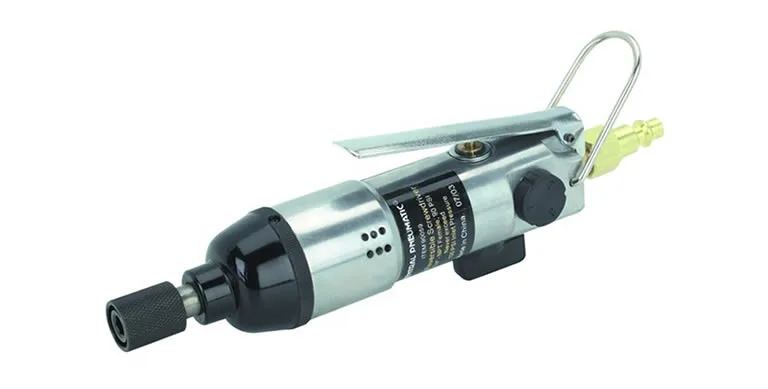
Using a Pneumatic Screwdriver safely
Once you have found your tool and your workstation, follow these steps to get ready for usage:
- Select a bit.
- Determine your level of torque.
- Attach the air hose.
- Select forward or reverse motion (if you have that option on your tool)
- Securely holding the device, place your bit on the fastener.
- Now, activate your device by pressing the lever or trigger or pushing your device against the fastener.
Let's look at these measures in more detail. First, choose your bit from those rated for use on your specific tool. The bits which come with your device are appropriate for use, as are any others shown in the instruction manual. Ensure your bit is of the proper size and configuration for your fastener. Consult your supervisor if you are unsure about the correct bit. To insert a new bit, you need to retract your bit collar, remove the old bit, place the new bit inside, and contract your bit collar.
Your torque selection mechanism will change depending on your tool. Some air screwdrivers permit one-touch torque selection, letting operators easily switch between settings, while some require manual adjustment. You should take instructions from your supervisor on the torque you'll need for each fastener. If the amounts are stated in different units than the settings on your tool, you can use a torque conversion calculator. The Air hose must be attached only when you're ready to work. Connect the hose to the receptacle gently but securely, then open the airflow toggle to the hose and with this, your tool is now live. Choose forward or reverse motion, which should be a noticeable switch on your device. Place your bit on the fastener, trigger your tool until torque shut-off occurs, and proceed to the next fastener.

